


Oumas Styling Stool – Part 1
- Amy Rencken-Bond

- Dec 28, 2019
- 3 min read

This piece is one that really touches home for me and my husband. It’s not any chair, but one that was given to us by family. And so, this upcycle wasn’t just a random ‘I saw that on Pinterest and thought it was cool’. But it has a specific sentiment behind it.
These specific chairs have very interesting leg pieces and were customed to the chairs by my husband’s Ouma, a lady that needs no introduction and one that left her mark in the hearts of her loved ones forever. But having added customed details on was something I thought was extremely special. And to honour that I wanted to highlight them by adding a subtle but interesting modernised imprint on them while they share their time with me and my husband, while we build our family.

But they also needed a little bit of love, as all good furniture sometimes does. So, this post aims to show you two things, one how to restore beloved furniture and two how to add a fun little twist with my favourite paint – Granny Bs of course. So, I’ve broken into two bits for you – The first we look at how to prep and stain your furniture for a little restore. And the second we look at specifically and the custom feature.
This is what you're going to need :

You can check out our quick video here and our shopping list at the end of the post! For full details see below the video 😊
In a separate post I’ll be showing you guys how to die this material but for this upcycle we are going to be focusing on the wood working side. So, let’s get cracking, shall we?
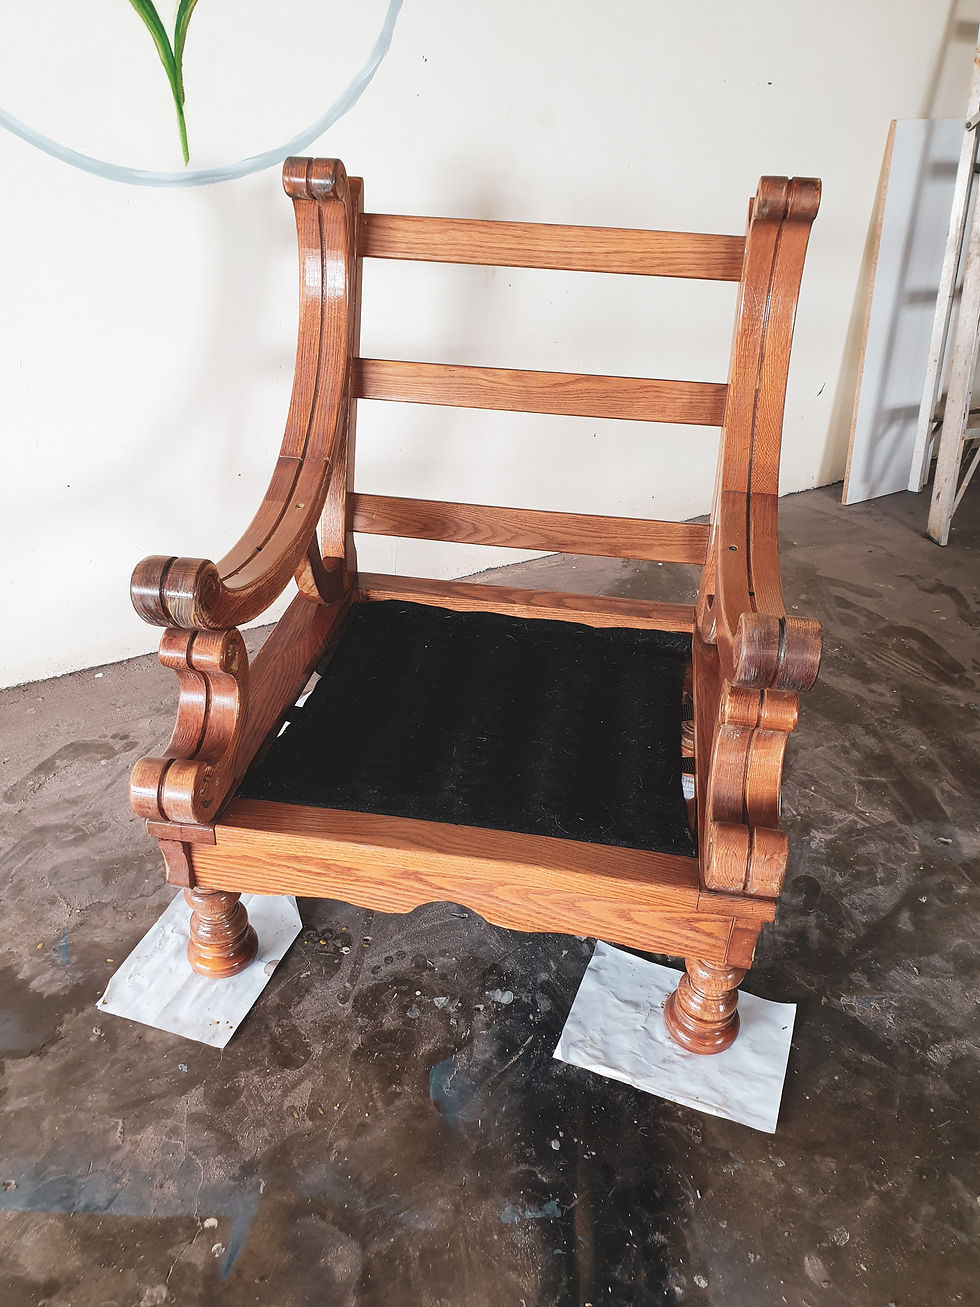
First you are going to need to remove the cushions and any added material features (like arm rests etc)


For any arm rests you need to inspect how its attached. Sometimes its nailed on. In those cases, you can use a soft hammer and flat head screwdriver to gently tap off the rest. In this case these arm rests were screwed in. So, we used a wurth socket set to unscrew the arm rests.
Once you have the bare furniture you are going to start sanding the furniture. Now you want to give is a gentle sanding so anything with an 80-100 grit is what you are really aiming for.


You don’t want to file down the wood itself but just give it a gentle buff. You can see that this specific chair had old paint and little notices. So, I worked to smooth this out, as well as remove those paint marks etc.
Once this is done take a damp clothe and wipe down your piece of furniture and leave it to dry. You want to make sure that its dust free before you start staining.
Once its dry take a white paint brush and begin staining. I used Wood Works stain in an Oak which is the closest colour stain to the current wood of the piece. My Husband wanted me to keep very close to the original colour and I felt the same. This specific stain is also great for restoring older pieces of furniture.
Leave to dry for 4 hours and paint with a second coat and you’re good to go!
I was happy with the overall outcome of the stain it really renewed the wood and gave it a fresh touch.
Shopping List –
1. Wood Works Oak (Builders)
2. Paint Brush
3. Ryobi Mouse Sander
4. Sandpaper
5. Clothe (Old Rag will do 😉)


留言